Patience is a virtue in the Marine Aquarium hobby. It has been difficult waiting for all the other pieces (aquarium stand, RODI system, saltwater mixing, hardscape) to be in place, but finally – It’s time to setup and fill our Fluval EVO 13.5!
This post is less of an instructional and more of a journal for the steps I performed to setup our EVO 13.5. As always, I hope sharing my experiences helps others plan and setup their own saltwater nano aquariums.
If you haven’t followed along, check out the rest of the Project Evo Marine Series.
Rock Clean and Tank Leak Test:
Well, almost ready to fill. . . I had a few other items to prepare before the big day.
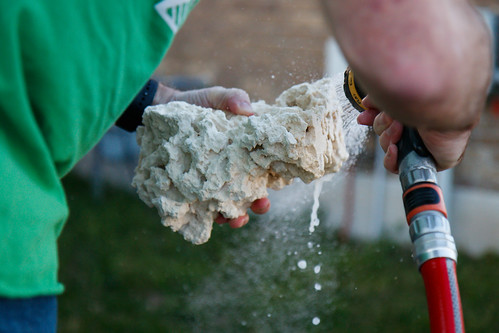
First, the dry rock comes very dusty and dirty. I rinsed it off with a hose outside.
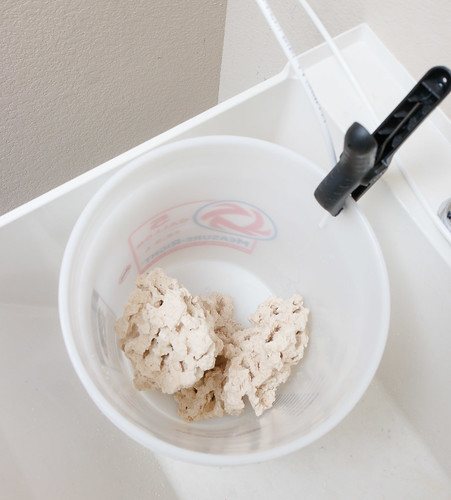
Then, to dilute the tapwater from the hose rinse, I soaked the dry rock pieces in a bucket of RODI water for a few days.
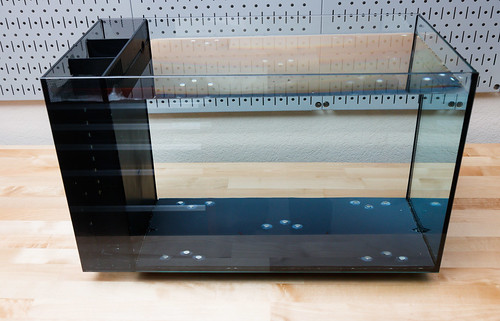
At the same time, I performed a leak test on the EVO 13.5. It’s not a good thing to realize your new tank has a manufacturing defect (and a leak) during your initial fill inside your home.
I placed the aquarium on a level workbench in our garage and filled with tapwater. Twenty-Four hours is plenty to check and ensure the tank is sealed and leak free.
Plug the Bypass:
The back wall (black plastic) that divides the display tank from the filter section in the EVO has a ‘bypass’ hole. It’s the same design as most other Fluval All-In-One (AIW) aquariums. I discuss in depth in this article why this bypass hole is a detriment to the tank’s filtration operation and I share how to block this hole.
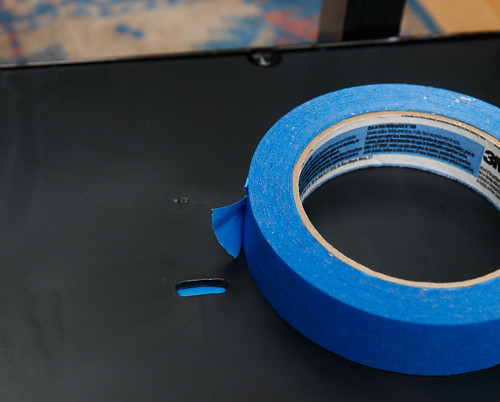
For the EVO 13.5, I used some blue painters tape on the filter side to create a backing and filled in the hole with Aqueon Black Silicone Aquarium Sealant.
After the sealant gets firmed up, remove the tape backing. Let the silicone sealant fully cure for 24 hours.
Level the Aquarium Stand:
Certain things you want to take care of the first time and not mess with again, such as ensuring your stand and tank is level. Doing all this can be a bit tedious, but it’s best to get everything squared and secure before you get involved in filing your tank with hardscape and critters.
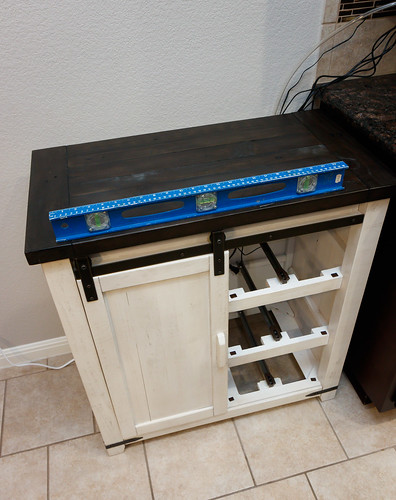
I first worked on the stand alone without the tank. Using a bubble level, check in both directions to see if the stand is level. At the same time, I pushed around on the stand to check for stability.
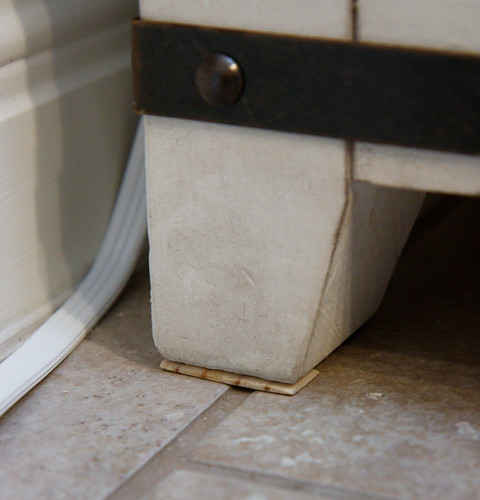
Right off the bat I discovered one side of the stand wobbled. I used these furniture shim pieces to place a small sliver of wood under the offending leg of the stand.
All it took was a very thin and small piece of wood at the back left leg to make the stand stable and fully level.
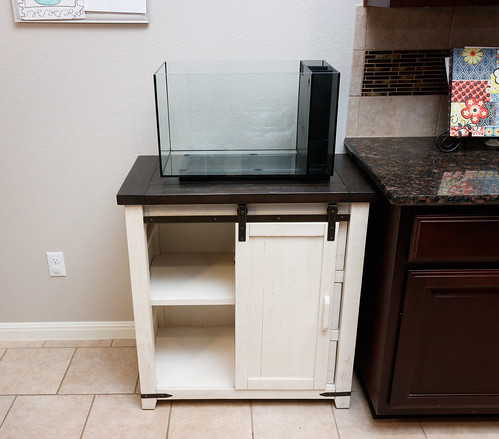
Next, I put the empty aquarium on the stand and carefully worked to place the tank in the desired location. I used a ruler to check to the nearest mm that it was equidistant along each edge.
Next, I wanted to fill the tank with tap water as a final capacity test and level check. Even with the stand level, it’s important to also check that the stand remains level and stable as you add water weight.
I used our ‘Python’ water changer to fill with tap water from the nearby kitchen sink. I filled in small increments, checking every 1/4 tank or so to make sure the top of the aquarium remained level in both directions as weight was added. At the same time, I continued to check that the stand remained stable.
Once I was sure the setup was level and stable, I then used the python to suck out as much tap water as possible. Before moving the tank I marked the tank edge locations onto the top of the stand with some painters tape so I could put the aquarium back in the same place after the cleaning steps.
Tank and Component Cleaning:
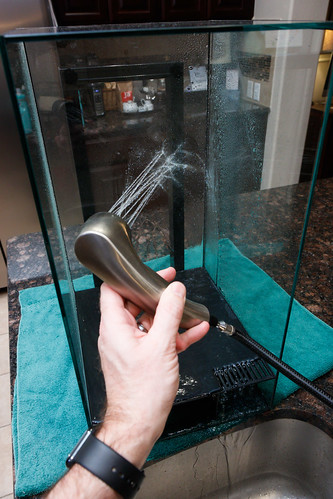
This is probably an optional step, but I wanted to final rinse the aquarium and components off before assembly.
You can give the tank and components a good rinse with tap water to remove any manufacturing impurities.
Then rinse everything with RODI water. I got this 500 ml Lab Squeeze Bottle to dispense and rinse things with RODI water. Rinsing includes the walls of the aquarium and the pump, return nozzles, return tube, and your filter media.
Place Tank and Setup:
I then put the cleaned tank back into location on the stand. Next up is getting the components into place and electronics plugged in. I put together the pump and return hose (that attaches to the pump) and placed in the bottom of the pump section. Next, finish out the return pump installation by screwing the return nozzle assembly on the other side of the filter bulkhead. (all of this is in the EVO instructions.)
Other items to setup:
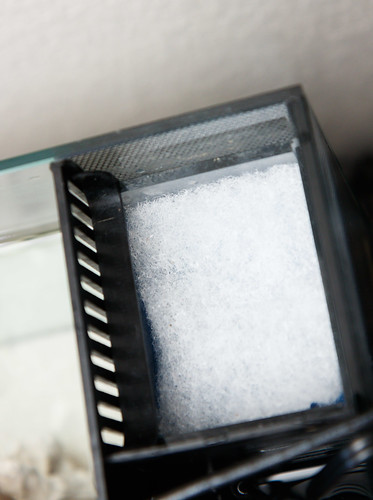
- Put your filter media into place: In our case, that involved loading up the InTank Chamber 1 Media Basket and sliding into place. You actually don’t need to have all the media in place during tank cycling; however, I’d make sure to at least have the filter floss in place to capture sediment that will be rinsed out of the sand for the first few days.
- Install Heater: Our 100 watt Hydor Theo fits perfectly into chamber two. No need to mount with the suction cups; just lower it down. It is fine if it touches the tank wall or the bottom.
- ATO: I put together components of our Automatic Top Off system. This included placing the ATO pump into our makeup water reservoir, mounting the level sensor (in the pump chamber) and placing the outlet tube (to discharge into the pump section).
- Wavemaker: For the initial cycling with no critters in the tank, there’s no need to have the wavemaker (pump) in place, but I can’t help myself; might as well get it in as well.
I spent quite a bit of time securing and arranging wires and components at this time. That effort has a separate post to describe some of the things I learned.
Place Hardscape, Add Sand, and Fill:
At this point, it’s time to place the hardscape including the sand.
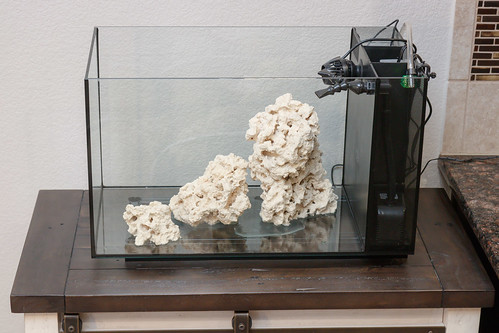
I put the rinsed and soaked dry rock into the position I had previously worked out.
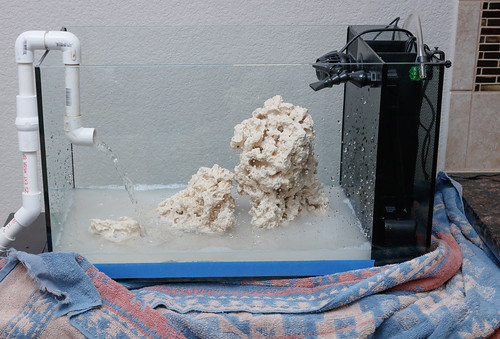
With that in place, I started adding sand. I used a small plastic cup to scoop the CaribSea Arag-Alive Fiji Pink Sand straight from the bag into the aquarium.
CaribSea specifically says not to rinse. I know from other reviews that by not rinsing, the sand will cloud the water upon fill. This seems to bother some people but I don’t have a problem with a cloudy tank initially. The blue line you see is a strip of 1″ painters tape along the exterior bottom of the glass. I used this line to help gauge the depth of sand I had added, with a target depth of around 1″ [2.5 cm].
Next comes the exciting part – Adding Saltwater to the tank! I rolled our saltwater mixing bin next to the tank. Then I used the water change pump that I use for our freshwater tank to move saltwater into the EVO. (I have another pump in the works that I will use in the future for water changes instead of having this transfer pump do double duty for both tanks.) If you don’t have a pump to use for transfer, you can use any container you want to scoop up and pour in the saltwater.
I didn’t stress about stirring up fine silt or moving sand around. It’s going to happen and it’s nothing that won’t sort itself out over time.
When you get the water level almost to the top (maybe an inch below the rim), put some water in the pump/filter section (if it doesn’t already have water in it) and plug in the return pump. Observe where the water level ends up in the display section and the pump section. If the pump section is low, continue adding water until it has enough water for the filter to operate (be submerged).
I’m not sure how the stock filter operates, but with the InTank Chamber 1 Media Basket (and it’s included overflow piece) in place, the display water level remains constant and the water level in the pump section runs high or low depending on the total volume. I add enough water to the system so that water flows over and covers the chamber 1 filter floss. This puts the pump section water level about an inch below the display section water level.
Final Steps and Looking Ahead:
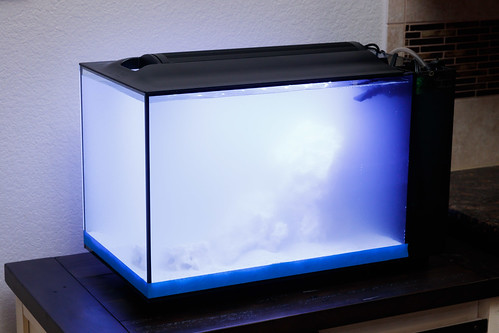
Even though the light isn’t going to be used during the cycling phase, you can go ahead and get the light and hood in place.
Initially, the water is ridiculously murky with silt stirred up from the sand. That is fine. After a day or so it cleared up dramatically.
Sit back and enjoy your progress. Even with no critters and completely devoid of life, there is a great deal of satisfaction in getting to this point in the journey to assembling a saltwater aquarium.
Looking ahead, we will next tackle Part 9: Saltwater Cycling and Basics of Reef Water Parameters.











I have LOVED this series! I look forward to the updates!
Cool! More to come in the next few months.
As a new reefer looking into the hobby, thank you for doing this series. It gives me an idea of what stock options to look out for to upgrade
You are very welcome. My only regret is I can’t put these articles out as fast as I want to.