At this stage of our Fluval EVO Marine journey, we’ve got the RODI system in place and pumping out stripped down water that will serve as a base for mixing our own saltwater. It’s as good a time as any to cover the process of mixing and prepping saltwater for our new nano reef aquarium.
This part of reef keeping had me a bit intimidated to be honest. It’s seemingly a big jump from freshwater where you can just use tapwater and dechlorinator – dumped right in the tank! Honestly, mixing saltwater for your aquarium is no big deal at all.
I will go into the nitty gritty as always and share some of what I have learned in mixing saltwater for our nano thus far. This article is titled for ‘Nano’ Saltwater aquariums (20-ish gallons or less). Nothing special about mixing for a nano aquarium except we are lucky and get to deal with smaller quantities than the big tank owners.
Supplies Needed to Mix Saltwater for your Nano Reef Aquarium:
Here are some of the items that I use to mix saltwater. . .
Container:
You will need something big enough to mix the water used for regular water changes. In our case, I don’t think I would ever need more than around 30% of total volume for a water change. 30% of our Fluval EVO 13.5 working volume is 3.3 gallons [12.5 Liters]. If you want to be able to mix the entire volume for an EVO 13.5 (only needed at initial fill), you will need around 12 gallons [45.4 Liters] capacity.
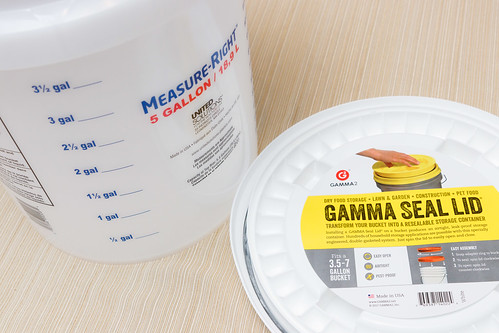
The simplest option that will get you around 4 Gallons [15.1 Liters] of working capacity is a 5 gallon bucket you get at the hardware store. Any type will do, but I found one branded Leaktite that is food grade (less likely to leach chemicals into the water), it is translucent and has volume markers in both Gallons and Liters – perfect!
There is a great lid available from Gamma2 Seal that converts your 5 gallon bucket into an easily sealable container. I found this to be useful as it is easier to open and close than the press on lids normally paired with these buckets.
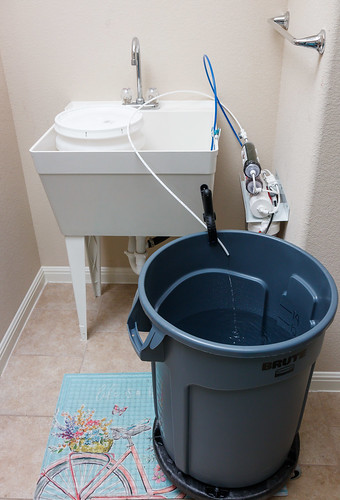
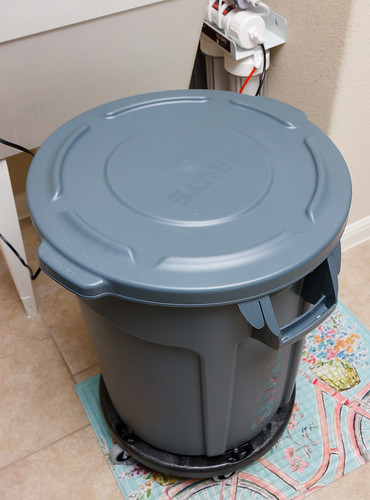
A disadvantage to mixing saltwater in a 5 gallon bucket is that you can only mix around 3-4 gallons and still have some room left in the top. This means that you will need a new batch mixed for every water change. It also means you will need several mixing sessions for your initial tank fill. I decided that I wanted to have one mix session last for multiple water changes (I’ll talk more about this later) so I needed something a bit bigger. It turns out the standard budget option for larger saltwater mixing is the Rubbermaid ‘Brute’ trashcan.
These are food safe, durable, and can contain plenty of saltwater for any Nano aquarist use. I got the 20 gallon ‘Brute’, a lid
, and the caster wheels
so I can roll it from our utility room (where it will be mixed and stored) to the aquarium’s location.
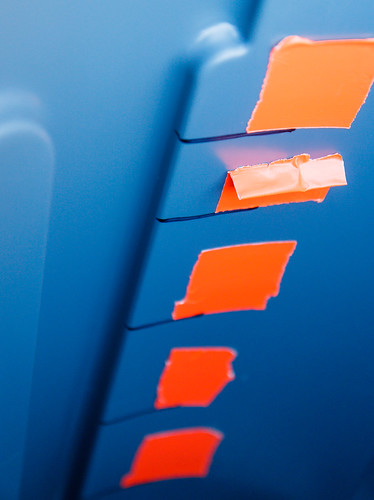
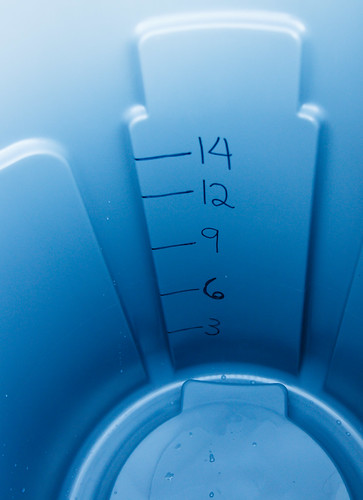
One thing I didn’t like about the Brute trashcan is that it doesn’t have any measuring indications inside. I decided to make my own. First, I got a gallon container as measurement and filled the trash can up (one gallon at a time) in three gallon increments. I marked where the water level was with duct tape for each 3 gallon increment, and worked my way up to 12 gallons.
Then, I marked from the tape locations with a permanent marker and labeled the volumes.
Don’t feel limited by these two container options. Just try to find something that is ‘food safe’ so it won’t leach chemicals into your mix; get something with a lid (to limit evaporation) and make sure you can move it to your tank if you mix in a space away from your tank’s location.
Salt Mix:
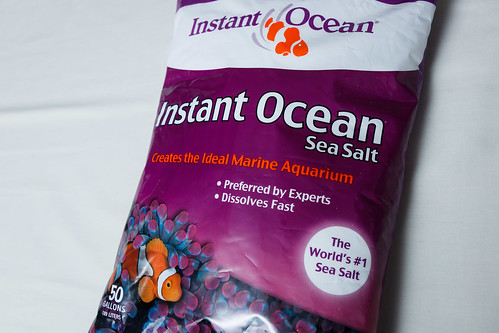
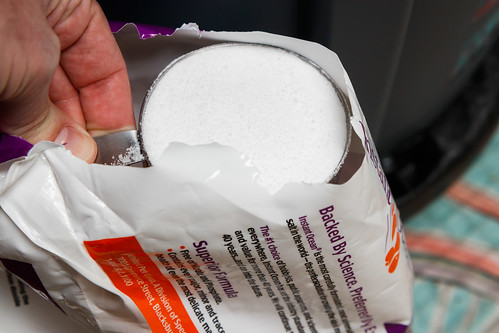
I discussed this already in Part I , but I have chosen to use Instant Ocean Salt Mix. Its cost efficient, is proven as reliable for many reefers over the years, and the manufacturer says that it can be stored after it is mixed. This is somewhat of a unique feature as many marine salt mix manufactures stipulate that the mixed salt needs to be used within 24 or 48 hours after mixing. Since I want to be able to mix a larger quantity for use in multiple water changes, I think this makes Instant Ocean is a good choice for me.
By all means, don’t stress over this decision. It’s a consumable item – when you use all of your salt mix up, you can switch types or brands as you see fit.
I purchased the Instant Ocean 50 gallon bag. Know that after you open the bag you need to store it in an airtight container. If you don’t have a separate sealable bucket it might be worth the extra money to get the Instant Ocean 160 gallon quantity
as it comes with a resealable bucket.
Power Head:
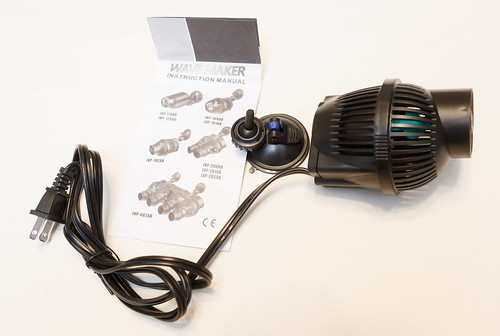
To get the salt mix fully dissolved in the water, you need some form of agitation. There are a number of solutions involving marine pumps you can rig up. I think the easiest solution is to simply drop in a power head.
I found the Super Aquatic JVP-102A. It’s a bit of a beast and overkill at 1,300 GPH, but I like the price and the high flow rate helps to get the salt mixed thoroughly and quickly. Just about any marine circulation pump or wavemaker will do fine.
Heater:
For winter and in colder spaces, you might need a heater to get the mixed water up to temperature prior to adding it to your tank. I got a Hydor Theo in 200 Watts – this is the same model of heater that I have used in our freshwater Spec V for over 6 years (and counting). 200 watts is absolutely overkill for this small volume of water; however, I sometimes am in a hurry to get water ready for a water change so I thought I’d upsize a bit.
Full Disclosure: The power head I selected adds so much heat to the water that I have not needed to use the heater yet. So, depending on your water workflow, you might consider a mixing station heater as an optional item.
Measuring Cup and Refractometer:
Many salt mixes, including Instant Ocean, mix at a rate of 1/2 cup salt mix to 1 gallon of pure water. So, get yourself a 1/2 cup capacity mixing cup to use for your aquarium. Probably good to have one you use only for the aquarium (to ensure it doesn’t get contaminated with dishwash or other soap). Plastic is better because metal, including stainless, will corrode from the salt.
Finally, you will need a refractometer to verify the final mixed salinity.
Process for Mixing Saltwater:
There really isn’t much to mixing saltwater, but are the steps and process I use:
- Put RODI water in a container: I initially had the RODI unit discharge directly into the mixing bucket or the trash can. I have now decided I can’t stomach the risk of an overflow if I forget to shut it off. Now I fill a smaller container sitting in the utility sink so an overflow is no problem.
For our initial fill of the EVO, I mixed 14 gallons [53 Liters].
- Add Powerhead to the Bucket: No need to try and mount or hang it. Just drop it in and let it rest at the bottom of the bucket.
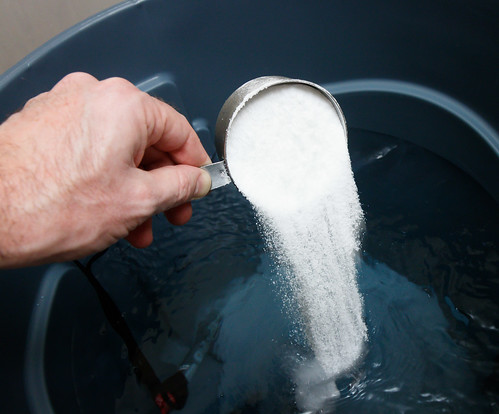
- Add your salt mix: Refer to the salt manufacturers instructions. Instant Ocean is the standard 1/2 cup per gallon. I level salt to the top of the measuring cup using a knife edge. The hardest part of this is not loosing count.
Helpful hint: Consider adding slightly more salt mix than the target. This is what I do to help out with getting the final salinity dialed in quickly (I’ll explain in Step 4 below).
- Cover and Let Mix: It’s good to cover it as best you can (with the power head cord coming over the edge of the bucket) so that you limit evaporation and keep contaminants out. Follow instructions for your salt mix – I allow at least a day for the salt to fully dissolve into the water. The agitation not only helps to mix the salt into the water, but it also aerates the saltwater. This helps the mix to stabilize to a pH level that should be close to your tank’s water.
This is when you would also add a heater to get it up to temperature (if you are going to add it to an aquarium). As I said before, my powerhead adds so much heat I don’t anticipate ever needing to use a heater.
- Test to confirm salinity is on target – Adjust as necessary: After the salt is fully mixed in, use your refractometer to see where you are compared to your desired target. A number that will work for almost all saltwater tanks is 1.025 SG (specific gravity).
If you followed my advise and mixed in a little more salt than necessary, the salinity will be high. This is actually good – you can add more RODI water a little bit at a time. Keep rechecking salinity often to make sure you don’t overshoot and send the salinity below your target.
The beauty of adjusting by adding RODI is that with the powerhead churning, it mixes almost instantly. If you are low on salinity, you have to add additional salt mix and wait for it to fully dissolve (which technically could take up to 24 hours).
As usual, I’ve put a lot of words into this instructional to document how I mix saltwater for our Fluval EVO 13.5. Such detail is kind of like writing an article on “how to empty your dishwasher” – the bottom line is that as you practice and mix saltwater as part of your routine maintenance, you will develop your own tricks and preferences and it will soon be second nature.
One thing I can say . . . It’s not nearly as complicated or mysterious as I had envisioned.
The next installment in our Project EVO Marine Series: Accessories and Upgrades for the Fluval EVO 13.5.


