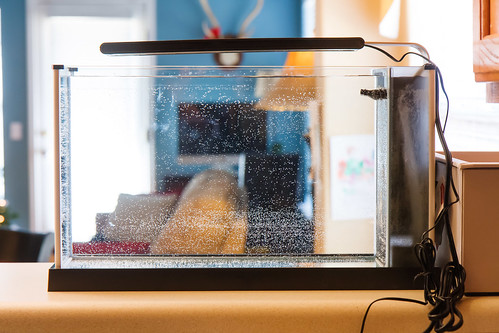
A few years ago, Santa brought our son a brand new Fluval Spec V aquarium. I was as excited as he was to setup our new
tank. A new aquarium is such an exciting thing – a blank canvas of glass and water, waiting for you to assemble substrate, stone, wood, and fish to create beauty for your home.
I hope this writeup helps you think through how to setup a Fluval Spec Aquarium.
Step One – Planning:
After choosing between the two sizes (five gallon Spec V vs. three gallon Spec III
), you should plan through what all you will need (or might need) to get your tank going.
Critters:
Right away, think about what animals you want in your aquarium. Most people first think of fish, you can also house snails or shrimp. A common mistake is to put too many fish, or fish that are not suitable for such a small tank. You will enjoy your aquarium more if you work with the limitations of a nano aquarium. I have a separate guide for selecting fish for the Spec III and V aquariums.
Substrate:
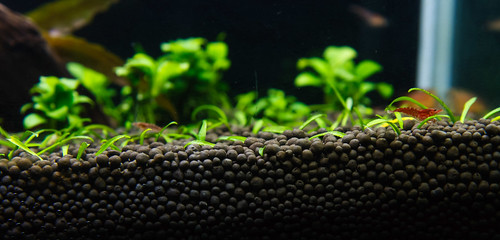
. . . which is a fancy word for gravel or dirt. If you are planning to put live plants in your tank, you should consider a substrate made for the task. I have used Seachem Flourite – it is a versatile product that lasts a long time and could be used even without plants. I now use a product from Up Aqua called AquaSand. It is good enough that I bought a new bag to use in our recent rescape.
If you aren’t using live plants, then you can use any gravel that is aquarium safe and suits the look you are going for.
Decorations:
I usually go for a natural look and have used driftwood and rocks as elements in the aquarium. It’s your tank, so whatever you want to add to get the look you want. You can purchase aquascaping stones and driftwood from a pet store or you can get them online from EBay.
Temperature Control:
It might be optional depending on the climate where you put your aquarium; however, most people will benefit from some help in controlling the temperature in your tank. Maintaining consistent temperature will help your inhabitants and plants stay healthy.
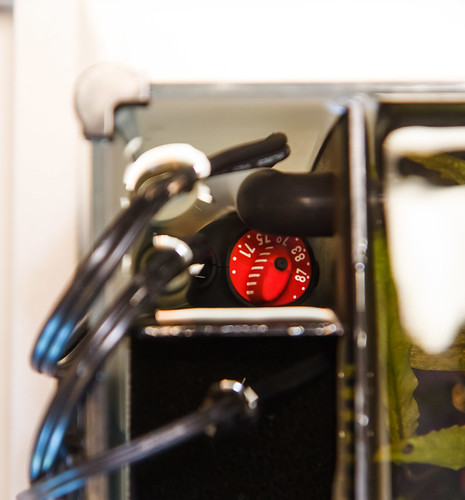
There are several heater options for the Spec III and V aquariums. A good budget option is the Hydor Theo (25 watt for the Spec III and 50 watt
for the Spec V). I have used the 50 watt Hydor Theo on our Spec V for 3 years now – no problems.
The Spec III is a taller tank and this gives you some additional heater options, namely the Eheim Jager (25 watt). This is an upgrade over the Hydor Theo – better build quality and reliability.
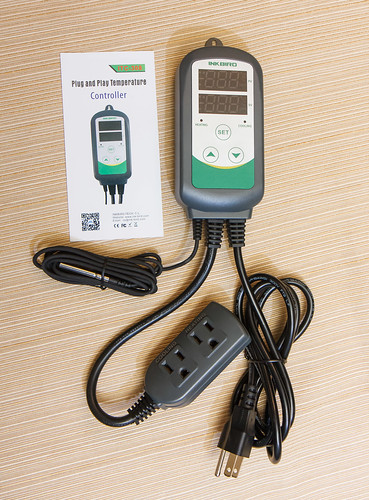
I’m a big proponent of using a separate temperature controller to handle turning the heater on/off. You can build your own or you can use a new pre-wired unit like I use, the Inkbird ITC-308.
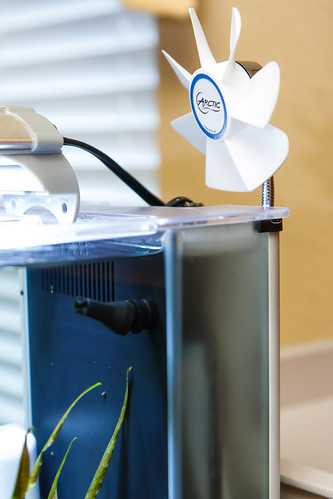
If you use a temperature controller like this that can also control a cooling device, you should also consider getting a fan for your spec to keep the tank cool in the summer by way of evaporative cooling.
Maintenance and Accessories:
A few odds and ends that I would recommend are:
- Water Conditioner
: You need this to neutralize the chlorine and make your tap water suitable for your fish. I use and recommend Seachem Prime.
- Water Change Kit
: Part of the regular maintenance of a Spec aquarium will include water changes. Python water changers are a great help in this. You can also make your own Python water changer. If you don’t want to haul a hose across your house, you can use buckets and a water change pump system.
- Tupperware: It pays to have a few (quart or so) Tupperware containers to help in maintenance tasks. I use a small quart container to condition top-off water. I have another 1 gallon container that works great to rinse off the filter media during tank maintenance. Most any Tupperware type container will work as they are usually aquarium safe. Along the same lines, I got a 5 gallon bucket at Home Depot (USA hardware store) to keep all my weekly maintenance stuff in.
- Water Test Kit
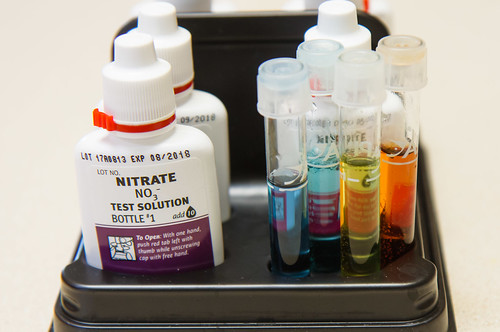
: It’s important to get a test kit of some sort to track the water conditions. It will prove invaluable if you are performing a fishless cycle. I have had great results with the API Freshwater Test Kit.
- Critter Food
: Buy food that is suitable for the animals in your tank. Hikari Tropical Micro Pellet food has ben a good match for our nano sized fish. Our Red Cherry Shrimp get an occasional meal of Hikari Tropical Shrimp Cuisine.
- Fish Net: This is a low dollar item, but necessary for moving around fish. Also handy for wrangling plant clippings. This one
is a good size for a Spec (4″ across) and has a nice hanger for resting on the side of your tank or maintenance bucket.
Optional Items You May Want:
These are not necessary, but they make life easier:
- Aquascaping Tool Set: This is mainly for those that are putting in live plants. I tried to get by without a good set of pinsettes the first time I planted our tank. Didn’t go well. There are some good budget sets on Amazon.
- Aquarium Silicone
: If you are thinking you may want to plug up the bypass on slot on your Spec (read about this here) it is much easier to tackle this before you get water in your tank.
- Seachem Purigen
: The activated carbon filter media that comes with the Spec might not be the best filter media option for your setup (read here for an explanation). This 100ml bag of Purigen is a great alternative for that second media slot.
- Cord and Accessory Storage Box: I found a nifty box for organizing all the cords and accessories (like fish food) for our Spec V. That particular model isn’t made anymore; however, you can get creative and find something that works with your space. Ikea has some options.
- Extension Cords / Splitters: If you are just running the Spec with no accessories, you will only need two outlet plugs (one for the light power brick / one for the pump). If you add a heater or heater/fan with temperature controller you will need to think about meeting all the outlet needs with a power strip
- Glass Cleaning Magnet
: This makes cleaning algae and gunk off the glass fun. I have had good luck with Mag Float. Another option is a razor blade type glass cleaner.
- Pure Ammonia: You can use this to start your fishless cycle (to kickstart the growth of beneficial bacteria in your aquarium). One source of pure ammonia (without additives) is from Ace Hardware Stores (USA).
- Flow Modifications: If you are using your Spec to house a betta, you may consider some of the solutions on this page to help make the tank work better for your fish.
- Light Timer: This is very helpful, especially in setting a regular light schedule for plants. You can use a simple rotary timer, a programmable timer (like this one I have used on our fish tank), or a smart plug.
Getting Started – Setting Up Your Spec:
Please don’t think that any part of this write up should be an absolute for you to follow. Everyone has a different setup and everyone will come up with new and creative problem solving to get their Spec running. I just hope that the steps here will make you think and plan your efforts.
Assembly and Preparing for Mods:
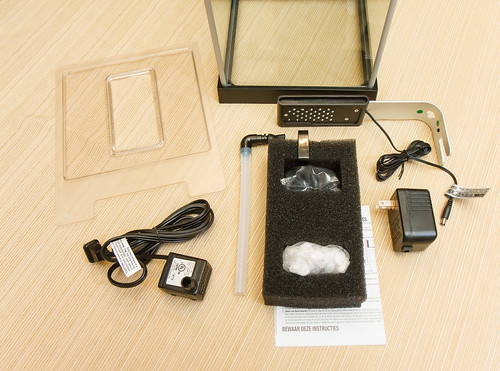
There isn’t much to add to assembly; the instructions are fairly clear. Here are a few things to think through:
Fill in the Bypass: If you feel like you might want to plug up the bypass, do it now. You will need to wait a full 24 hours for the silicone to cure.
Put Flow Holes in the Outlet Tube: If you are looking to place your heater in the pump section, or you are looking to reduce the flow of your Spec, now is a good time to punch one or more holes in your outlet tube.
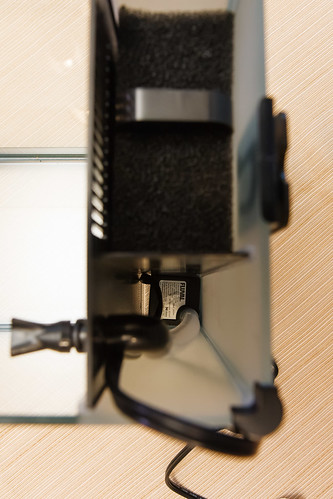
Install the Pump: It’s a bit unnerving to place the pump. Yes, it is waterproof and submergible. Here is a write up on tips for placing the pump. You can orient it however you wish as I have run our tank with it in numerous positions.
Locate your Aquarium: Think through where you want it placed now as it is not safe to move it when it is full of decorations and water. Try to avoid areas where it will be hit with lots of direct sunlight, as temperature and algae control might be challenging.
Leak and Performance Test: This is optional, but highly recommended. It would be a shame to get all the substrate and decorations set and then discover a leak. I suggest you get everything setup as operational: pump and fittings setup, light installed, heater installed, etc. Fill the tank and plug all the power cords in.
Make sure the pump works properly. Watch carefully over an hour or so to make sure the tank is fully water tight. Once you are sure it is all functional, use your water changer to empty the water out.
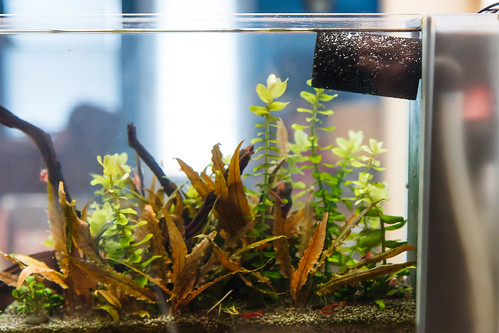
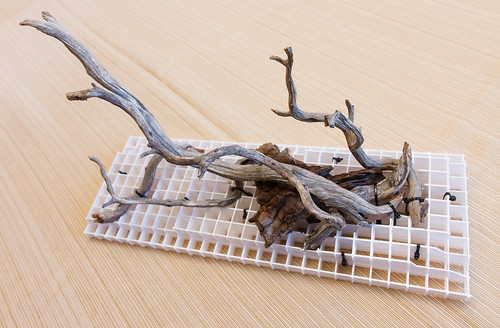
Decorate / Aquascape / Plant: Now is the time for the real fun to start – ‘scaping your new aquarium. Gather all of your materials (substrate/rocks/wood, etc.) and start playing around with placement. I choose to place the wood and rocks first, then add the substrate later. Don’t rush this step as it may be difficult to move things after the tank is up and running.
I have used light eggcrate grid and zip ties to secure both wood and rocks. Eggcrate grid is helpful in tying down wood (that may otherwise shift or float) and for raising elements (wood and/or rocks) up in the tank.
If you are performing a fishless cycle, you might consider placing your live plants later, after the beneficial bacteria are established. Or, you can go ahead and plant now – bacteria from the plants can greatly speed up the cycling process.
Cycling Your Aquarium:
Some people choose to put their fish in right away. Know that this is risky for their health. A better way is to ‘cycle’ you aquarium, which a process of establishing the beneficial bacteria colonies in your aquarium that feed on the harmful waste of fish and convert it to less toxic byproducts.
I have a helpful page here describing the process of a fishless cycle. Performing a fishless cycle can take several weeks (or more) to complete.
Upon filling your tank for the first time, make sure to condition your water with dechlorinator and every time you add water.
Put Your Fish In:
Finishing the fishless cycle can be taxing on your patience, but the payoff is having an aquarium that is healthy and ready for fish. Consider using drip acclimation or something similar to prep your new fish when you get them home from the fish store.
Start Your Routine:
Now you get to enjoy your tank in all of it’s glory. You will have some occasional maintenance items to take care of, but remember to make it fun and enjoy the journey.



Needs an edit. In the part about the driftwood you have “XXXX or float” instead of “shift or float”.
Your help is greatly appreciated!
Hi. Do you know how to get the new version of the Spec V? It seems to have a better light fixture with better output. But I can’t seem to find it online. Thanks! Great Site!!!!!!!
Since Fluval didn’t rename the tank (when they updated), it is very difficult to determine what you are getting. In a retail store, the packaging should tip you off that it is the newer version. Online, all you can do is ask before you purchase to confirm what you are getting.
What a great post! I’m curious – could I use the silicone ear plugs as a way to plug the bypass holes? This is in lieu of the aquarium silicone.
Thanks very much for putting together this site.
I have a question regarding the water level in these Fluval Spec tanks. I recently bought a Fluval Spec 3 (2.6 gallon). I’m brand new to aquariums.
I can’t find any information in the manual or online about how high I should be filling the tank. Should the water level be higher than the overflow vents on the top of the divider? Right now, the tank is covering half of the overflow vents. It seems quite high to cover them all, but the only picture online I can find show it above the top of the overflow.
Thanks
james
great question. I have noticed that when I fill mine up as high as possible, the water level is above the small divider between pump and filter section. I fill to below this level so that water doesn’t “short circuit” over this divider and bypass the filter media. Other than that nugget of insight, any depth is fine as long as the water level stays above the bottom of the overflow slots (into the filter section).
Could you perhaps share a picture of this? I just removed water to right under the slots because a cherry shrimp kept going inside the slots to hand out in the filter, but I don’t know if that will damage the motor. I only have three cherry shrimp in the spec 5 gallon, so am not too concerned with filtration at the moment.
Hi there was one thing that I didn’t see any mention of was an air stone. What are your thoughts and that and the reason why you didn’t need one?
An air stone isn’t needed as there is plenty of oxygen transfer with the water movement of the stock setup.
I am in the process of setting up the brand new 5 gallon tank now. I’m confused about 2 things. Is there anything I have to do with the filter system. I put the charcoal and other thing into the sponge part, slid it in and that’s it. Doesn’t it need something more? The directions that came with it did not say a thing.
And, over and over I saw posts at Amazon that said a heater fit in the space where the air pump goes. I don’t see how. I went back to the Amazon page and realized those posts were 2 or more years old. Is there a heater small enough to fit in there?
Marina Submersible Heater for Aquarium, Mini, 25-watt https://www.amazon.com/dp/B00AFELT92/ref=cm_sw_r_cp_apa_KswuzbY9JH2YG
I think your on the right track with the filter. It’s simple.
See this page for advice on heaters.
Not sure if you are still answering questions or comments. The C clip to the foam filter broke as I was pulling it out. Does that clip serve any purpose other than to help pull out the foam filter (for example, does it help with water circulation)?
It does nothing except help give you something to grab to get it out of the tank. It will operate exactly the same without it. You can either just pluck the filter media out with fingers, or maybe rig up some loops with zip-ties to replace.
Great article. Does the light have a timer on it? If not is there one available for it?
The stock light doesn’t have a timer feature. If you want it on a timer you can achieve that with a smart plug.
Is it safe to have the chord underwater?
For the water pump?
What if I electrocute myself lol or all my shrimp die?
The pump is submersible. It is designed to operate underwater.